

10-Step Painting Checklist Before Moving In
The keys are in your hand, the removalist is booked, and the rooms are still empty. That short window is the best time to paint. A clear painting checklist before moving in helps you avoid working around furniture, rushing colour decisions, or discovering repair issues after the first coat is on the wall.
Painting before move-in is not only about fresh colour. It is an opportunity to repair worn surfaces, improve lighting through the right paint finish, and start with a clean, well-prepared home. The order of work matters, particularly when settlement dates and other trades are involved.
Why paint before furniture arrives?
Empty rooms make preparation faster, safer and cleaner. Painters can access full walls, skirting boards, ceilings and window frames without shifting heavy furniture or covering every item in the room. There is less risk of paint splashes on a new sofa, flooring damage from moving ladders around tight spaces, and dust settling on belongings.
It also gives paint the time it needs to dry and cure properly. Walls can feel dry within hours, but fresh paint is more vulnerable to scuffs, moisture and tape marks for several days. If you can allow a few clear days between painting and move-in, the finish will be better protected from the start.
The trade-off is timing. If the property has extensive repairs, high ceilings, feature finishes or several rooms to be painted, do not assume it can all be done in a weekend. Confirm the scope early and leave room for drying, ventilation and final touch-ups.
Your painting checklist before moving in
1. Inspect every surface in daylight
Walk through the property before choosing colours or booking work. Open blinds, turn on lights and inspect walls, ceilings, doors, trims and window frames from more than one angle. Daylight often reveals marks, hairline cracks, peeling paint and patchy previous repairs that are easy to miss at night.
Take photos and make a room-by-room note of what needs attention. Look closely around light switches, door handles, air-conditioning vents, bathrooms, kitchens and high-traffic hallways. In older Sydney homes, check for water stains, flaking areas and cracks around cornices or plaster joins. These can point to a moisture issue or movement that should be addressed before painting.
2. Decide what is being painted
Be specific about the scope. Are you repainting walls only, or will ceilings, doors, skirting boards, architraves, wardrobes and window frames be included? A room can look unfinished if bright new walls sit beside yellowed trim or a stained ceiling.
Make decisions based on condition and visual impact. Ceilings may only need repainting where there are stains or discolouration, while trims often benefit from a full refresh because they receive frequent knocks. If the budget is tight, prioritise entry areas, living spaces, kitchens, bathrooms and bedrooms before less visible storage areas.
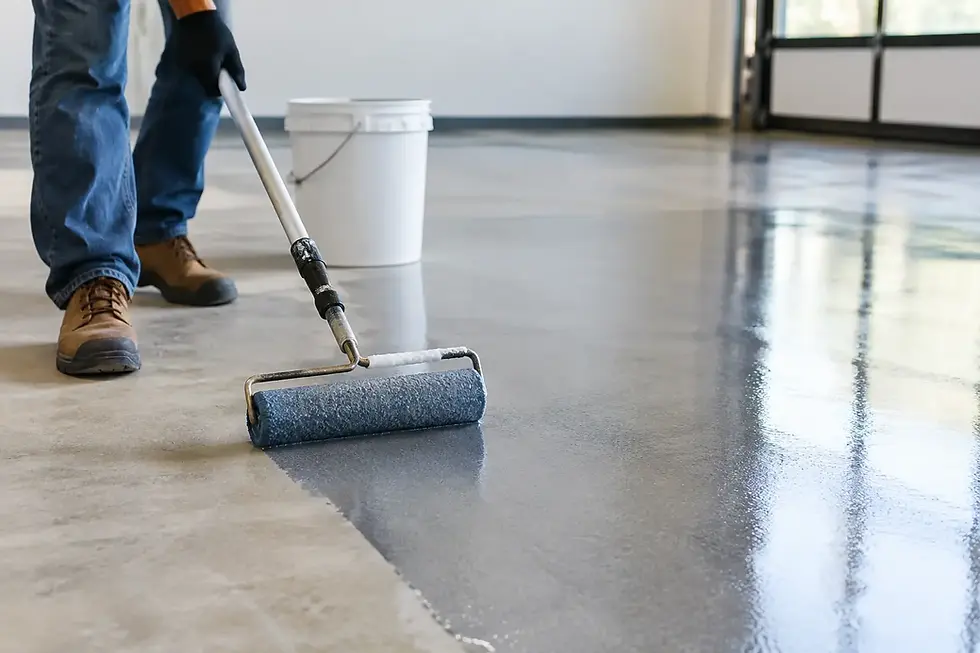
This is also the time to consider exterior work, roof painting or epoxy flooring. These are separate projects with different weather, preparation and access requirements, so they should not be added at the last minute.
3. Check for repairs before paint is priced
Quality painting starts with surface preparation. Paint will not hide loose plaster, deep dents, water damage, failing caulk or a rough old patch. It may briefly make an issue less noticeable, but the defect is likely to show through again.
Ask for repairs to be identified clearly in the quotation. Common preparation work includes filling nail holes and cracks, sanding rough patches, sealing stains, repairing minor plaster damage, re-caulking gaps and removing loose paint. If there is active dampness, mould or a roof leak, solve the source first. Painting over it is not a repair.
For a property purchased with tenants recently moved out, inspect walls for adhesive residue, picture hooks, sticker damage and heavy scuffing. These small defects take time to prepare properly, but they make a noticeable difference to the final finish.
4. Choose colours in the actual rooms
A paint card under shop lighting does not always look the same at home. Test sample patches on more than one wall and view them in morning light, afternoon light and under your usual indoor lighting. North-facing rooms can handle cooler shades differently from darker south-facing rooms, while warm globes can alter the appearance of whites and greys.
Keep adjoining rooms in mind. A connected colour plan usually feels calmer than selecting every room separately. Neutral base colours are practical for resale and rental properties, but that does not mean every space needs to be plain. A feature wall, deeper study colour or softer bedroom tone can add character without making future changes difficult.
For trim, ceiling and wall colours, consider the undertone. A crisp white may appear blue beside a warm cream floor, while an off-white can look muddy next to very cool tiles. Testing samples is cheaper than repainting a room.
5. Select the right paint finish
The sheen level affects appearance, cleanability and how clearly imperfections show. Flat or low-sheen finishes are commonly used on interior walls because they reduce glare and suit most living areas. Higher-sheen paints are generally more washable, but they can highlight uneven plasterwork if preparation is poor.
Ceilings usually suit a flat finish. Semi-gloss or gloss is often used on doors, skirting boards and architraves for durability and easier cleaning. Kitchens, bathrooms and laundries need coatings suited to moisture and regular wiping. A professional painter can recommend a premium Dulux system that matches the surface, room use and desired appearance.
6. Plan the work around other trades
Painting should usually happen after major electrical, plumbing, plastering and cabinetry work, but before carpets, curtains and most furniture are installed. If new flooring is being laid, discuss the sequence with both trades. In many cases, painting first prevents paint from reaching a finished floor, while in others, final skirting-board touch-ups may be needed after flooring is complete.
Confirm who is responsible for removing wall fixtures, patching old holes, protecting floors and reinstalling fittings. Clear communication prevents small assumptions from becoming delays on move-in week.
7. Clear access and protect what stays
An empty home is ideal, but it is rarely completely empty. Remove loose items, take down artwork and curtains, and clear cupboards or built-in shelving if they are included in the work. Put keys, remotes and important documents aside before trades arrive.
Any floors, benches, appliances or fixtures that remain need proper protection. Professional drop sheets, masking and careful site management help keep the job clean, but access still matters. Make sure there is room for ladders, preparation equipment and safe movement through the property.
8. Allow enough time for preparation and drying
Do not schedule the removalist for the morning after painting finishes. The required time depends on the number of rooms, surface condition, weather, ventilation and paint system. A straightforward repaint may move quickly, while repaired walls, stain blocking, detailed trim or dark-to-light colour changes need additional coats and drying time.
Open windows where practical, provided weather and security allow it. Good airflow assists drying and helps reduce odour. Avoid blasting freshly painted rooms with heaters, as excessive heat can affect how coatings dry. Your painter should provide practical guidance based on the products used.
9. Inspect the finished work before move-in day
Once the paint has dried, inspect each room in natural and artificial light. Look for missed patches, rough filler spots, drips, inconsistent coverage and areas where masking needs removal. A reputable painter will welcome a reasonable final walkthrough and address minor touch-ups as part of proper project completion.
Keep a small labelled container of each final colour for future touch-ups. Write down the brand, colour name, finish and room location. Paint from different batches or with a different sheen can look noticeably different, even when the colour name is the same.
10. Keep the first week gentle
Freshly painted surfaces benefit from a little care. Avoid pressing furniture hard against walls, dragging boxes along skirting boards or washing painted areas immediately. Use felt pads under furniture and take care when hanging pictures, especially if walls have been patched.
If something is marked during the move, wait until the coating has had suitable curing time before cleaning it. A soft cloth and mild cleaning approach are usually safer than abrasive products, which can burnish or dull the finish.
When a professional painter is worth it
DIY can suit a small, sound room where time is flexible and you are comfortable with the preparation. It becomes less practical when the home needs crack repairs, ceilings, detailed trim, stain blocking, multiple colours or a firm move-in deadline. The quality of preparation, product selection and clean site management is often what separates a finish that lasts from one that needs early repair.
For a full-home repaint, a detailed quote gives you a clearer plan for scope, preparation, products and timing. BaBa Painting Services provides free quotations for Sydney property owners who want licensed, insured workmanship, fair pricing and a clean professional finish.
A newly painted home should feel ready for its next chapter, not like another job waiting after the boxes are unpacked. Plan the work early, allow time for preparation, and move into rooms that already feel cared for.


Comments